Welcome to our comprehensive guide on understanding concrete pad costs in New Zealand! Whether you’re planning to build a new patio, driveway, or foundation, knowing the costs involved is crucial to avoiding surprises down the road. In this article, we’ll break down the average prices for concrete pads, explore the factors that can influence the overall cost, and help you determine whether DIY or professional installation is right for your project. From materials and labor to site preparation and finishing touches, we’ve got you covered with all the information you need to make an informed decision and budget effectively for your next construction project.
On average, the cost of concrete pad in New Zealand typically ranges from $70 to $100 per square meter for a basic installation. This cost can increase to $120 to $150 per square meter for reinforced or decorative concrete pads. Factors like pad size, site preparation, labor, and additional finishes can affect the overall price, making it important to plan your project based on specific needs and conditions.
Table of Contents
What Is A Concrete Pad
Understanding a Concrete Pad and Its Uses
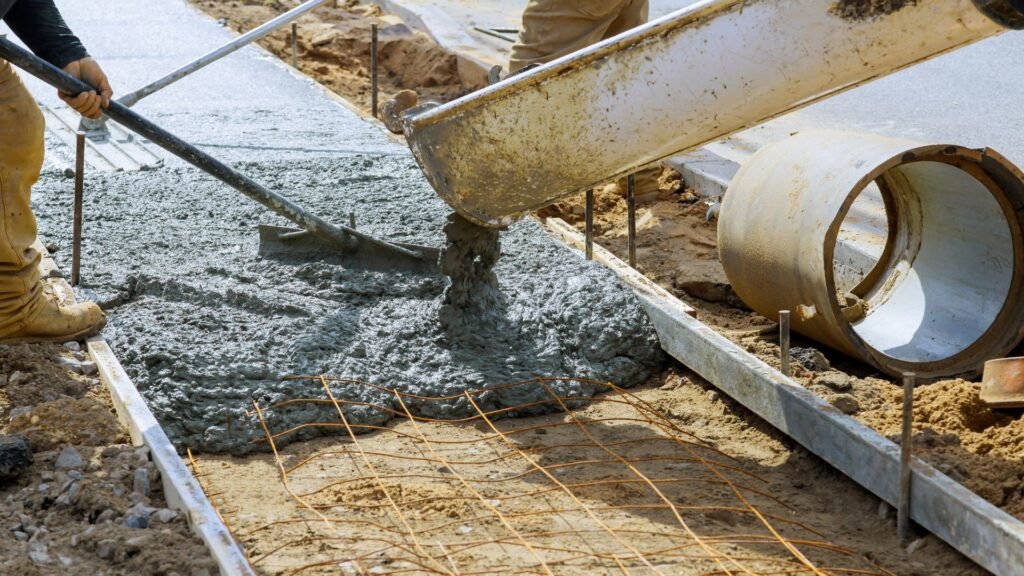
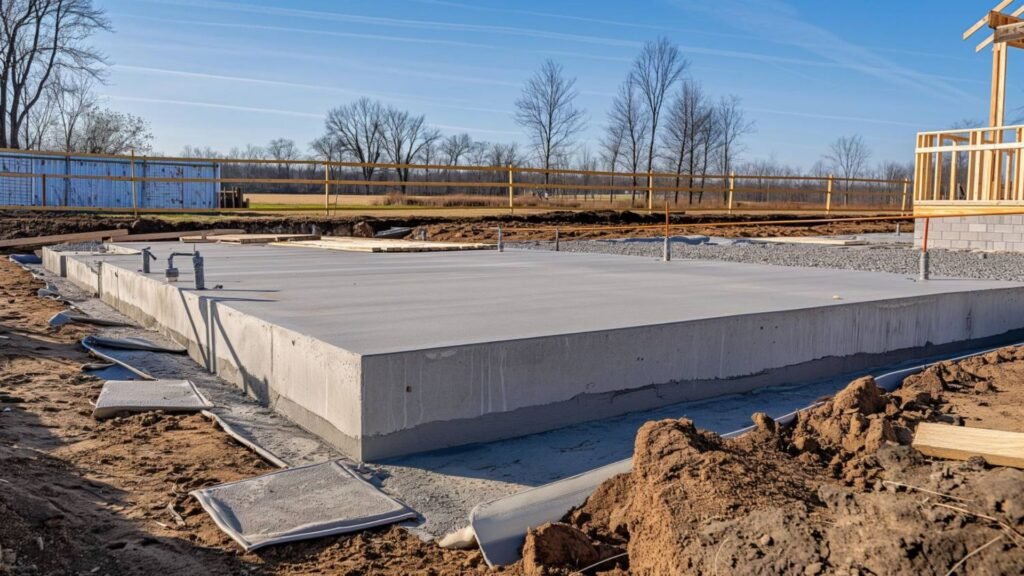
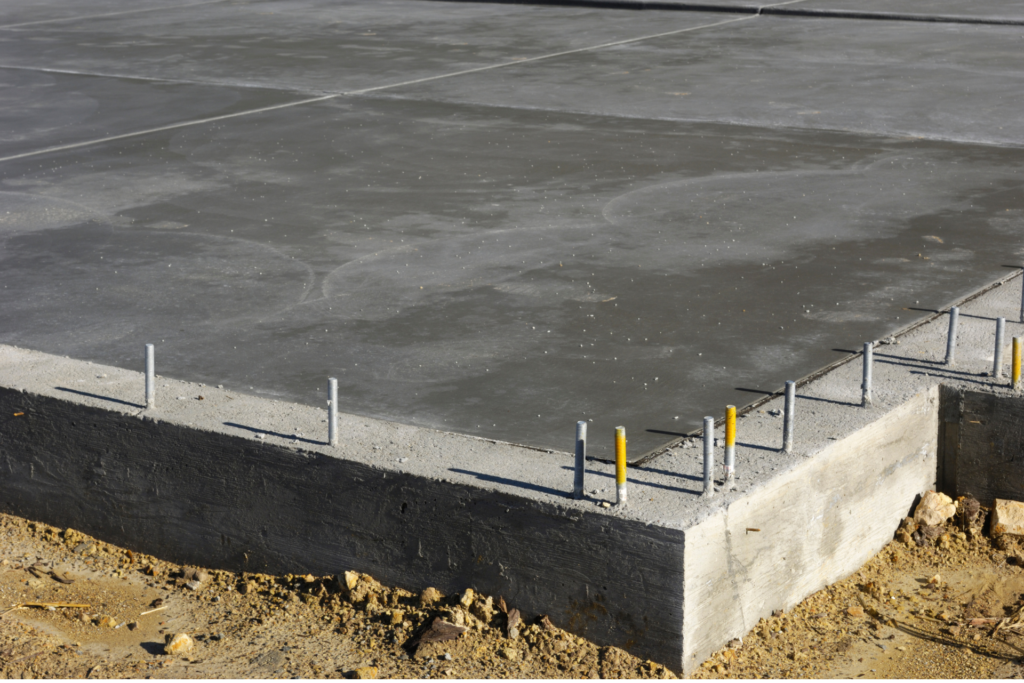
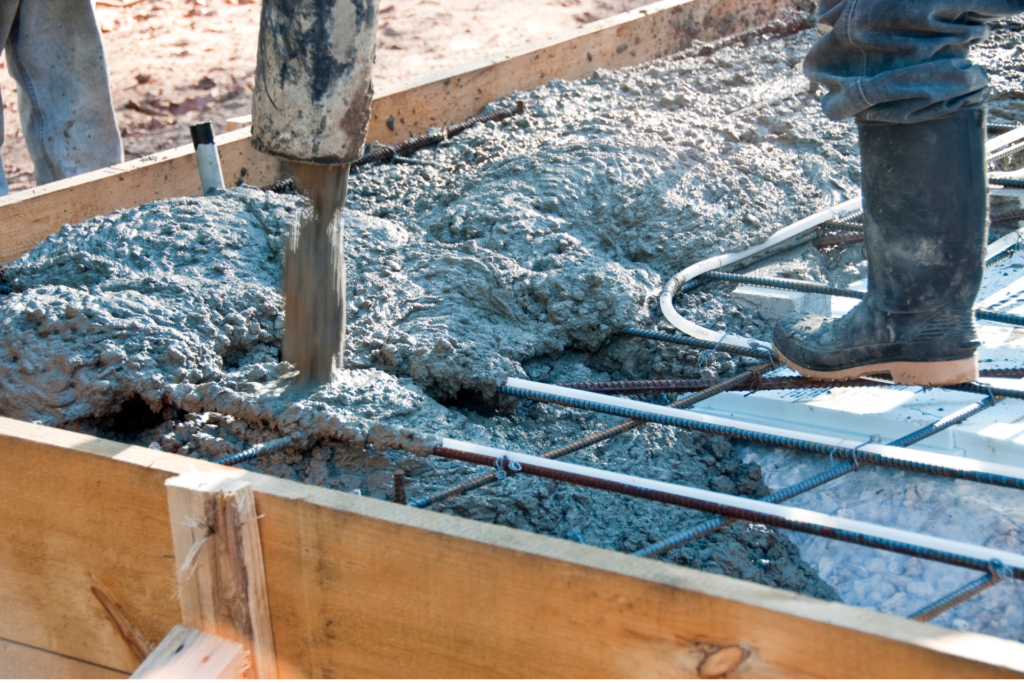
A concrete pad is a flat, horizontal surface made from poured concrete. It serves as a solid foundation for various structures and outdoor features. The pad typically consists of concrete, a mix of cement, water, sand, and aggregate, which hardens to form a durable surface. Concrete pads are widely used in both residential and commercial projects due to their strength, affordability, and versatility. Concrete pads are essential for several applications such as the following.
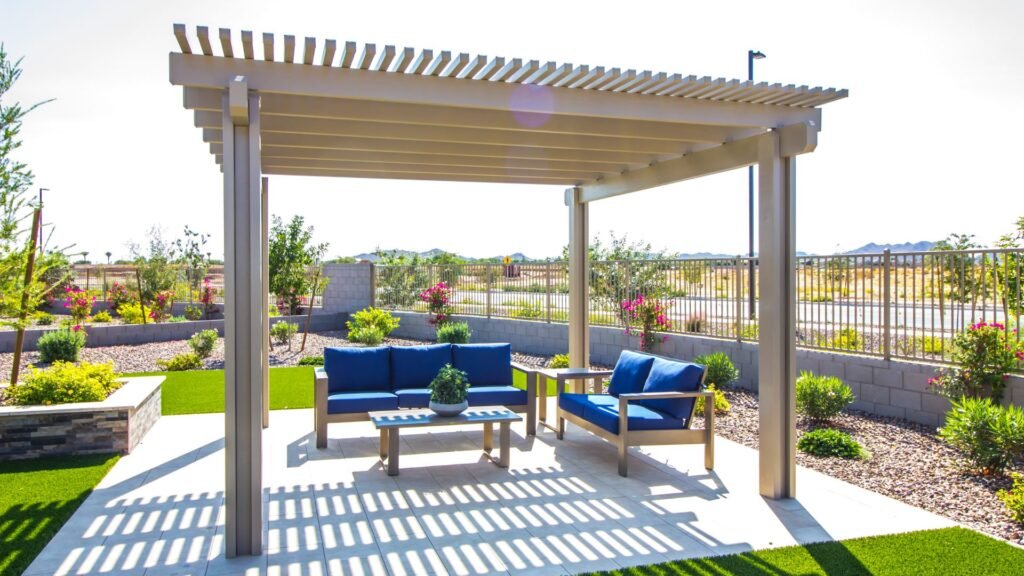
- Patios: They create sturdy, long-lasting outdoor spaces for entertainment or relaxation.
- Foundations: Concrete pads are often used as the base for sheds, garages, or even small buildings to provide stability and support.
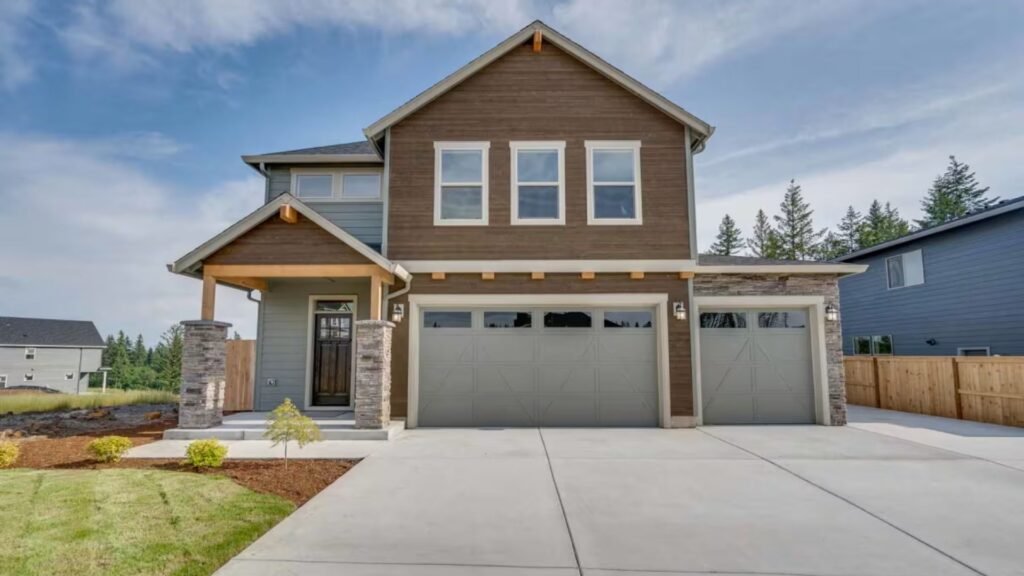
- Driveways and Walkways: They offer a smooth, durable surface for vehicles and foot traffic.
- Equipment Bases: Heavy machinery, air conditioning units, and other equipment often require a stable concrete pad to ensure proper support and avoid sinking into the ground.
In general, concrete pads are a practical solution when you need a level, durable, and weather-resistant surface.
Different Types of Concrete Pads
There are several types of concrete pads, each suited for specific applications.
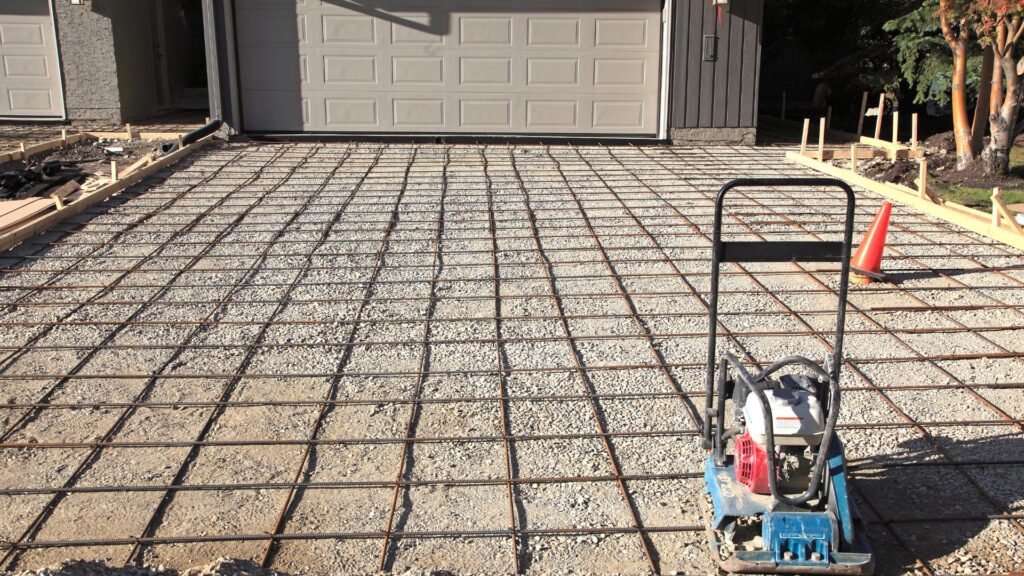
- Reinforced Concrete Pads: These pads include steel reinforcement, such as rebar or wire mesh, to improve their strength and durability. Reinforced pads are ideal for areas that need to support heavy loads, such as garage floors or industrial equipment bases.
- Unreinforced Concrete Pads: This type of pad is simply poured concrete without any added reinforcement. It’s typically used for smaller projects like patios or garden walkways where heavy load-bearing isn’t a concern.
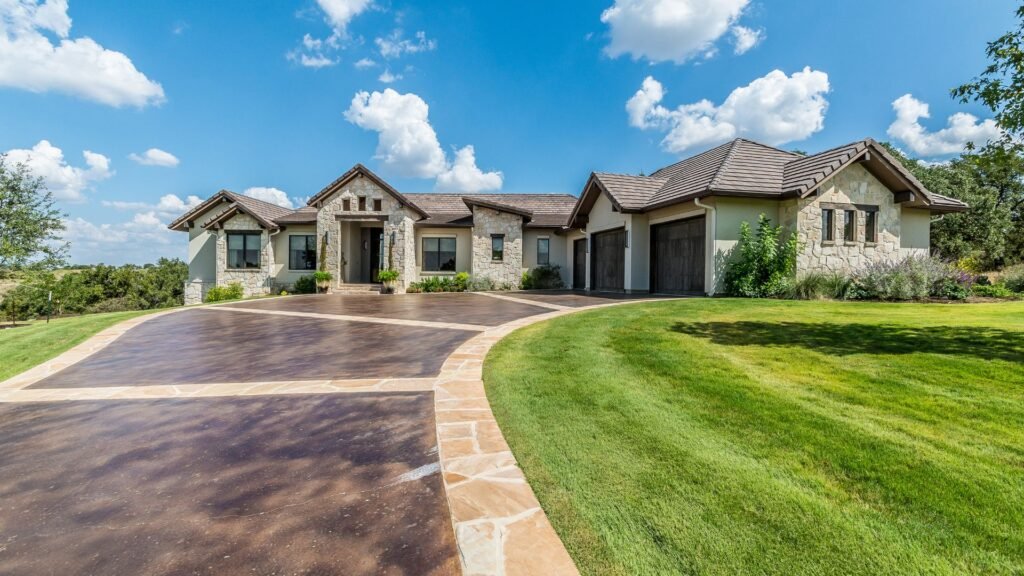
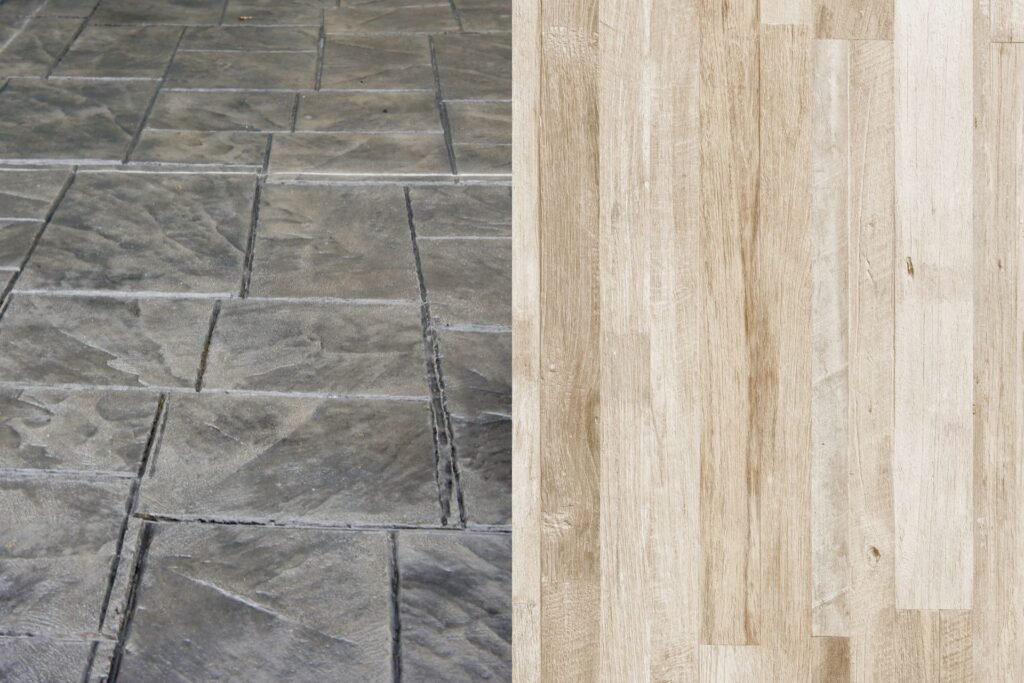
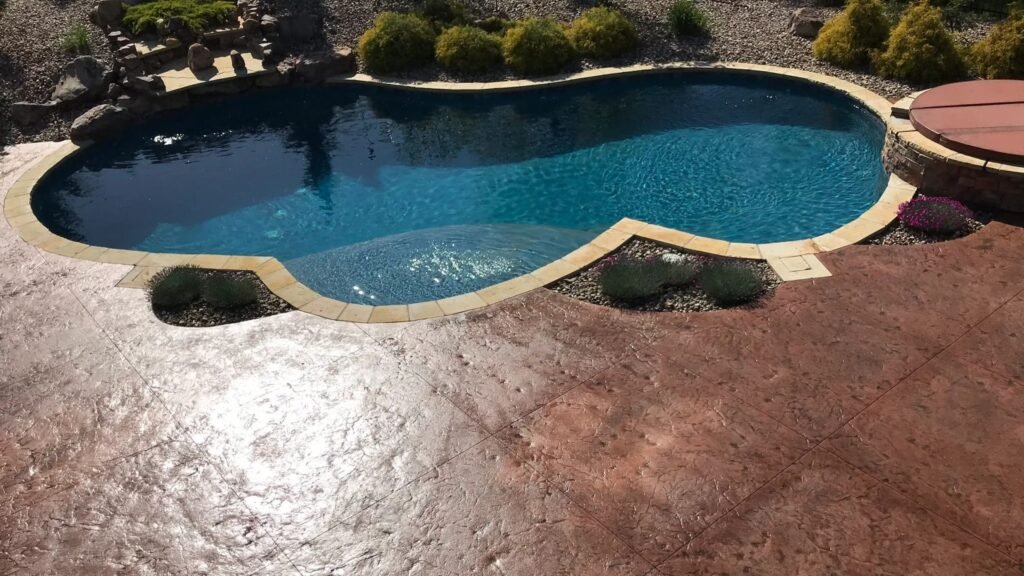
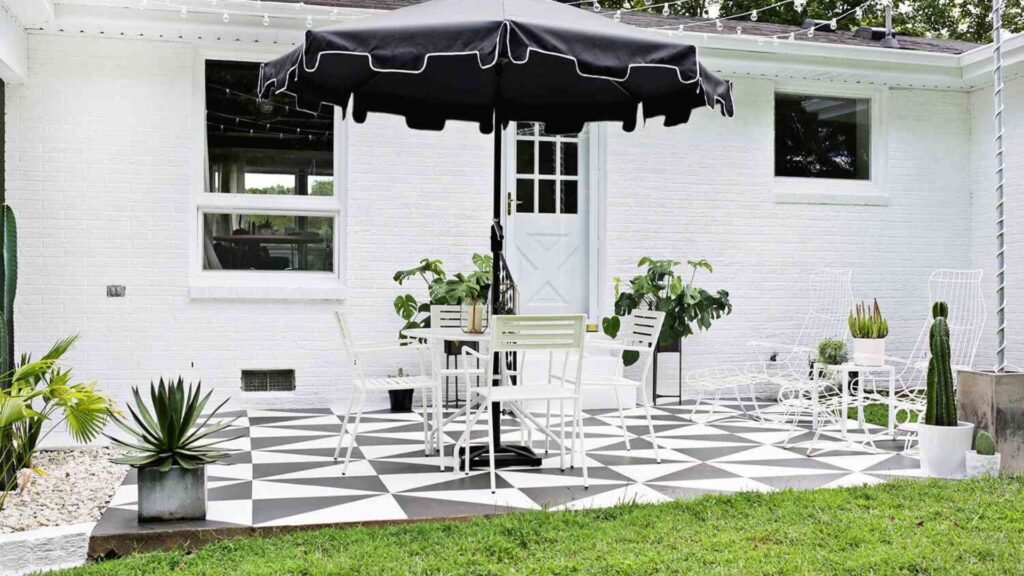
- Decorative Concrete Pads: For those looking to enhance the aesthetic appeal of their outdoor spaces, decorative concrete pads can be customized with stamped patterns, colored finishes, or even textured surfaces to mimic materials like stone or brick.
Why You Might Need a Concrete Pad
There are numerous scenarios where a concrete pad could be the right solution for your project. Here are some common reasons you might consider installing one.
- Home Improvement Projects: Whether you’re building a new patio, updating your driveway, or adding a shed, a concrete pad provides a solid foundation that lasts for decades.
- Building a Garage or Workshop: If you’re planning to construct a garage, workshop, or carport, a concrete pad will offer the stability needed to support vehicles, tools, and equipment without cracking or settling over time.
- Creating Outdoor Living Spaces: Many homeowners choose to install concrete pads for outdoor living areas like patios, fire pits, or seating areas. Concrete offers a versatile, low-maintenance surface that can withstand the elements.
- Supporting Heavy Equipment: If you need to install heavy outdoor equipment, such as an air conditioning unit, generator, or hot tub, a concrete pad will prevent the equipment from sinking or shifting, ensuring it remains level and secure.
Whether you’re enhancing your outdoor space, constructing a new building, or needing a strong foundation for equipment, a concrete pad is a versatile and practical option. It’s durable, cost-effective, and can be customized to meet the needs of your specific project.
Average Concrete Pad Cost In New Zealand
Concrete pads are a common feature for driveways, patios, and other outdoor spaces in New Zealand. However, the cost can vary significantly depending on factors like size, location, and the type of concrete used. This guide will walk you through the current average concrete pad costs in NZ, as well as what you can expect to be included in the pricing, and how the costs differ by type and region.
Current Average Pricing for Concrete Pads in New Zealand
The price for a concrete pad in New Zealand is generally calculated per square meter (NZD/m²), and it will vary depending on the size of the pad and its intended use. Below is a breakdown of estimated costs for small, medium, and large pads.
- Small Pads (10-15 sqm): For small concrete pads, such as those used for garden sheds or outdoor seating areas, you can expect an average cost of $120 to $160 NZD per square meter. This would bring the total cost for a small 10-15 sqm pad to $1,200 to $2,400 NZD, depending on the complexity of the project and regional pricing variations.
- Medium Pads (20-50 sqm): Medium-sized pads are often used for outdoor entertainment areas or garage bases. These typically cost around $110 to $150 NZD per square meter, translating to an overall cost range of $2,200 to $7,500 NZD, depending on the pad’s size and location.
- Large Pads (50+ sqm): For large concrete pads, such as those used for driveways, industrial spaces, or large patios, the cost usually falls between $100 and $140 NZD per square meter. A large pad of 50 sqm or more can, therefore, range from $5,000 to $7,000 NZD or higher, depending on whether additional work is needed.
Urban vs. Rural Areas
Concrete pad prices can vary significantly based on whether the project is located in an urban or rural area. In general, urban areas, such as Auckland or Wellington, tend to have higher labour and material costs, which can push prices to the higher end of the spectrum. In contrast, rural areas often have lower overall costs, but access to materials and transport fees can slightly offset these savings.
- Urban areas: Expect to pay closer to the higher end of the ranges listed above due to higher labour rates and logistical complexities.
- Rural areas: Prices tend to be lower, but factors like transportation of materials to more remote locations can add to the overall cost.
What’s Included in the Price
When you receive a quote for a concrete pad, it generally includes several core components.
- Materials: This includes the cost of concrete itself, which varies depending on the quality and type. It also covers reinforcement materials like steel mesh (if needed) and other additives.
- Labour: The cost for professionals to prepare, pour, and finish the concrete. Labour costs can vary based on the complexity of the project and the experience of the contractor.
- Site Preparation: Basic site preparation like levelling the area and minor earthworks is typically included.
- Finishing: This includes smoothing the surface and any minor finishing touches to ensure the pad is ready for use.
Potential Extra Fees to Consider
It’s important to note that there can be additional costs depending on the specific site conditions and the scope of the work. These might include.
- Extensive earthworks: If the site is not level or requires significant excavation, this could add to the overall cost.
- Drainage: Installing drainage solutions can increase the price, especially if the site is prone to water pooling or flooding.
- Travel costs: For more remote or hard-to-reach sites, contractors may charge extra for travel and transport of materials.
- Permit fees: In some areas, you may need to pay for council permits or consents before starting the work.
Cost Differences by Type of Concrete Pad
Not all concrete pads are created equal, and the type of pad you choose will have a direct impact on the overall cost. Here are the main types.
- Plain Concrete Pad: The most basic and cost-effective option. Plain concrete is the least expensive to install, but it offers limited aesthetic appeal. It’s best for areas where appearance isn’t a priority, like shed foundations or driveways. Expect to pay in the lower range of $100 to $120 NZD per square meter.
- Reinforced Concrete Pad: For heavy-duty use, such as garages or driveways that will support vehicles, a reinforced concrete pad is recommended. Reinforcing involves adding steel mesh or rebar to increase the pad’s strength, which adds to the cost. Reinforced pads typically cost around $120 to $150 NZD per square meter.
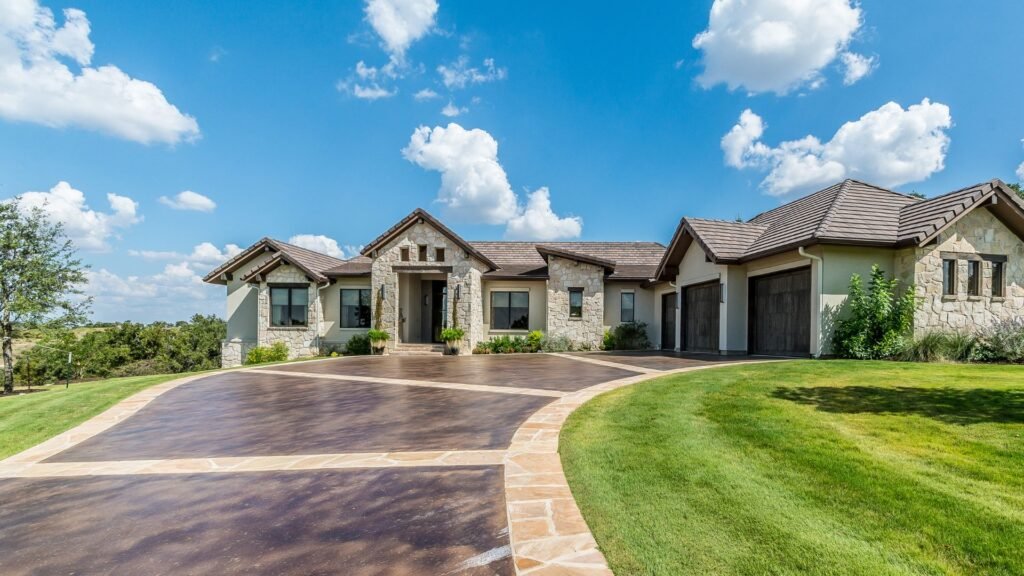
- Decorative Concrete (Stamped or Coloured): For those looking to add style to their outdoor space, decorative concrete is an excellent option. Stamped concrete can mimic the look of stone, tile, or brick, while coloured concrete adds a vibrant or subtle hue to the surface. Decorative concrete comes at a premium, ranging from $150 to $180 NZD per square meter or more, depending on the complexity of the design.
The average cost of a concrete pad in New Zealand depends on several factors, including size, location, and the type of concrete used. Small pads can range from $1,200 to $2,400 NZD, medium pads from $2,200 to $7,500 NZD, and large pads from $5,000 to $7,000 NZD or higher. Urban areas typically have higher costs, while rural areas may offer savings but could incur additional transportation fees. Lastly, the type of concrete whether plain, reinforced, or decorative will have a significant impact on the final price. By understanding these variables, you can better budget for your next concrete project and ensure you’re getting the best value for your investment.
Factors Influencing Concrete Pad Costs In NZ
When planning a concrete pad project in New Zealand, various factors can significantly impact the overall cost. Understanding these aspects can help you better estimate your budget and make informed decisions.
Size and Thickness of the Pad
One of the most obvious factors affecting the cost of a concrete pad is its size and thickness. The larger the pad, the more materials, labour, and time will be required. Concrete is generally priced per cubic meter, so an increase in dimensions directly leads to a higher cost.
- Pad Size: Larger areas require more concrete and additional resources such as formwork and labour. Whether you’re planning a small shed base or a large driveway, the square footage will play a major role in your final bill.
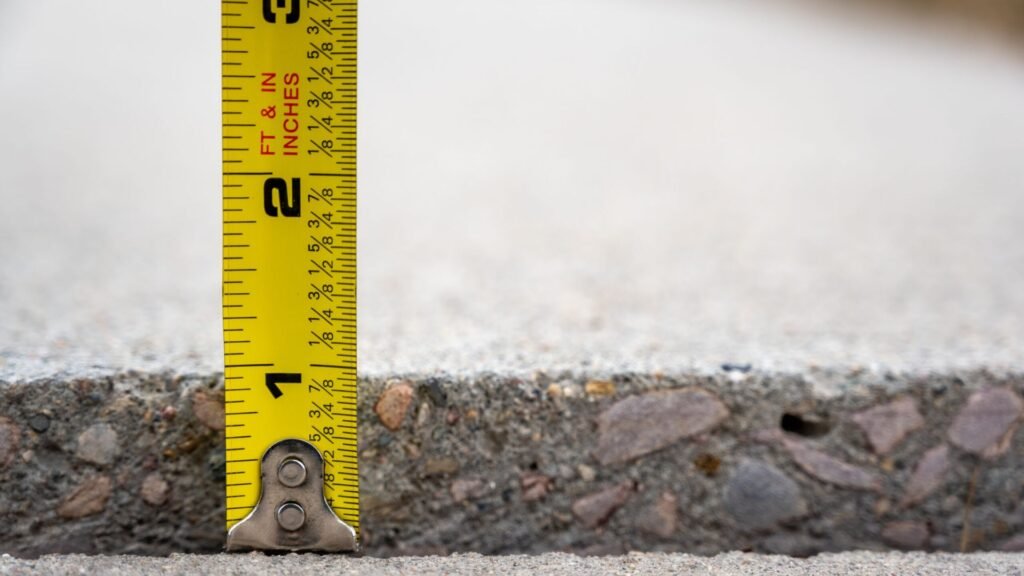
- Pad Thickness: The standard thickness for most residential concrete pads is around 100mm, which is adequate for light structures like patios or small sheds. However, if the pad will support heavy vehicles, equipment, or loads, a thicker pad (150mm or more) will be necessary, which further increases material costs. For example, thicker pads may also require additional reinforcement, like steel mesh, to provide the necessary structural support.
Site Preparation
Site preparation is a crucial part of laying a concrete pad and can substantially affect the overall cost. Proper preparation ensures the longevity and strength of the concrete, but more complicated sites require additional work and, therefore, additional expenses.
- Standard Site Prep: For most jobs, site preparation includes clearing the area, leveling the ground, and possibly adding a compacted gravel base for stability. If the site is already level and on stable ground, this part of the project may be relatively straightforward and inexpensive.
- Complex Site Prep: However, not all sites are created equal. If your property is sloped, has poor soil quality, or contains tree roots, rocks, or other obstacles, the preparation work can become much more labor-intensive. Complex jobs might involve excavation, drainage solutions, or even retaining walls, all of which will increase the project’s overall cost. Poor soil conditions may also necessitate a thicker base or additional materials to ensure the concrete doesn’t crack over time.
Labour Costs in NZ
Labour is another significant component in determining concrete pad costs. The price you pay for professional concrete contractors in New Zealand can vary depending on the complexity of the project and the region you’re in.
- Typical Rates: On average, concrete contractors in NZ charge between $50 and $100 per hour, with larger or more complex jobs requiring more experienced workers at the higher end of the scale. When calculating labour costs, consider how long the site preparation, formwork, and concrete pouring will take. For smaller jobs, the cost might be manageable, but larger projects can see significant increases in labour expenses.
- DIY vs. Professional Help: While it might be tempting to take a DIY approach to save on labour, pouring concrete requires specialized skills, equipment, and experience. Mistakes can be costly to fix, and improper installation can lead to cracks, uneven surfaces, or drainage issues. Professionals bring expertise and efficiency, ensuring the job is done right the first time. While DIY can save some money, the risks and potential extra costs of repairs or redoing the job often outweigh the initial savings.
Material Costs
Material costs play a crucial role in determining the overall expense of a concrete pad in NZ. The price of concrete itself can fluctuate based on demand, location, and market conditions, but there are additional materials to consider beyond just concrete.
- Cost of Concrete: In New Zealand, concrete typically costs between $150 and $250 per cubic meter. The price depends on the grade and any additives, such as waterproofing or colouring. Higher-strength concrete or special finishes will increase the price.
- Additional Materials: Other materials that will contribute to the overall cost include:
- Reinforcement Steel (Rebar): For pads that need extra strength (especially for driveways or areas supporting heavy loads), steel reinforcement will be required. This adds both material and labour costs.
- Formwork: Creating a mold or form to pour the concrete into is essential for shaping the pad. Formwork materials, such as timber or steel, and the labour involved in setting it up add to the cost.
- Other Considerations: Some projects may require drainage solutions, expansion joints, or even special coatings, all of which will further affect the final price.
Weather and Seasonality
New Zealand’s weather and seasonality can have a surprising impact on the cost and timeline of a concrete pad project. Different seasons present challenges that can either delay or complicate the process.
- Winter Conditions: During colder months, rain and freezing temperatures can delay or complicate pouring concrete. Cold weather can slow down the curing process, making it necessary to use additives or heaters to ensure the concrete sets properly. This can add to the costs.
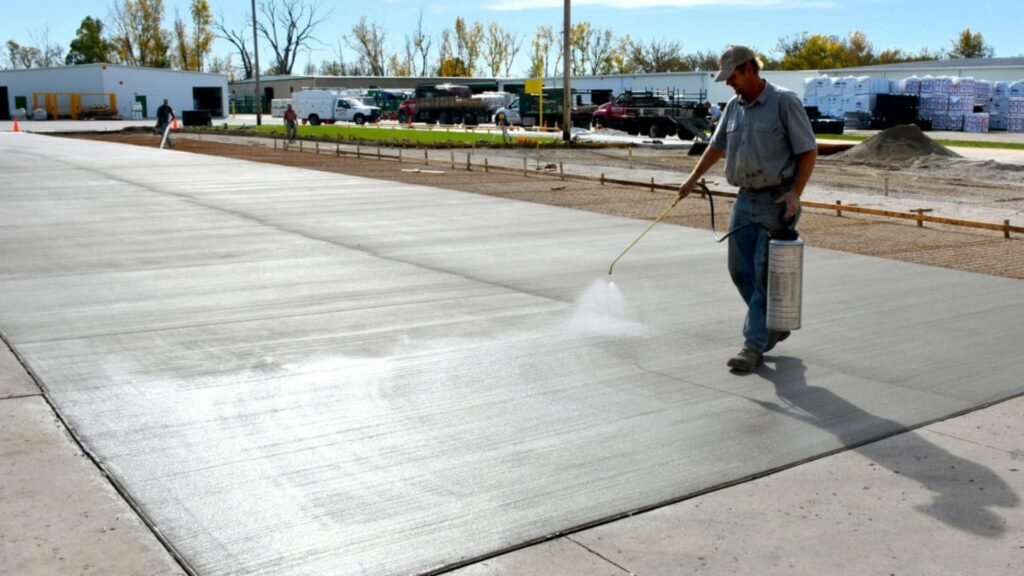
- Summer Heat: On the other hand, extreme heat during the summer can cause the concrete to dry too quickly, leading to cracking or surface imperfections. Contractors may need to take extra steps, such as wetting the surface or adding curing agents, to prevent these issues.
- Seasonal Demand: Weather impacts not only the technical aspects of pouring concrete but also the overall demand for contractors. During peak construction seasons, such as late spring and summer, contractor availability might be limited, driving up prices. Conversely, during off-peak times, you might be able to secure lower rates, though you may need to plan for potential weather-related delays.
Several factors come into play when determining the cost of a concrete pad in New Zealand, including size, thickness, site preparation, labour, materials, and the influence of weather. By understanding how these factors affect the overall cost, you can plan your project more effectively, ensuring a balance between quality and budget. Whether you choose a DIY approach or hire professionals, taking the time to account for these variables will help ensure your concrete pad is both durable and cost-effective.
DIY Vs. Professional Installation
When it comes to home improvement or outdoor projects, one of the biggest decisions homeowners face is whether to tackle the job themselves or hire a professional. Each option has its advantages and disadvantages, and the right choice depends on several factors, including your budget, skills, and the complexity of the project. Let’s break down the pros and cons of DIY versus professional installation to help you make an informed decision.
Pros and Cons of DIY Installation
- Potential Cost Savings: One of the main reasons many people opt for a DIY approach is the potential to save money. By doing the work yourself, you eliminate labor costs, which can significantly reduce the total expense of a project. This is especially appealing for budget-conscious homeowners who want to keep costs low.
- Skills and Tools Required: However, DIY isn’t always as simple as it seems. Depending on the project, you may need specialized tools or skills that you don’t have. For instance, pouring a concrete pad or installing certain materials might require more expertise than basic home maintenance tasks. If you lack experience, the risk of mistakes increases, which can lead to higher long-term costs. A mistake in a DIY project can result in poor workmanship, which might mean having to redo the work or hire a professional to fix it negating any initial savings.
- Time Commitment and Effort: In addition to skills, DIY projects often require a significant investment of time and effort. What might seem like a weekend job could end up taking much longer, especially if you’re learning as you go. Be prepared to dedicate several hours or even days to complete the task, and keep in mind that your free time is valuable. If your schedule is already tight, DIY might not be the best option.
Benefits of Hiring a Professional
- Guarantees and Expertise: When you hire a professional, you’re paying for their expertise, which can provide peace of mind. Most contractors offer guarantees on their workmanship, meaning that if something goes wrong, they will fix it without additional cost to you. Their experience with site preparation and familiarity with local building codes ensures that the job is done correctly from the start.
- Access to Better Equipment: Professionals also have access to high-quality tools and equipment that may not be readily available to the average homeowner. These resources allow them to work more efficiently and achieve better results. For example, they may use specialized machinery for leveling surfaces or advanced techniques for securing materials, ensuring the final product is durable and long-lasting.
- Higher Quality and Longevity: While DIY can be cost-effective in the short term, professional installation often provides higher quality and longer-lasting results. Professionals know how to avoid common pitfalls and can foresee potential issues that a DIYer might overlook. As a result, professional installations tend to experience fewer problems over time, saving you money on repairs or replacements in the future.
When to Consider DIY vs. Professional Installation
- Small, Simple Projects: For smaller, straightforward projects, such as laying a basic patio or installing a small garden shed, DIY might be a viable option. If the task is simple and you feel confident in your abilities, you can save money and gain a sense of accomplishment by doing it yourself.
- Larger, More Complex Projects: On the other hand, if you’re dealing with a large or complex project, such as installing a driveway, building a deck, or pouring a large concrete pad, it’s usually best to call in the pros. These types of jobs often require specialized knowledge, tools, and equipment that the average homeowner doesn’t have. Attempting a complex project on your own could lead to mistakes that are expensive and time-consuming to fix.
Deciding between DIY and professional installation ultimately comes down to the scope of the project, your skill level, and your available time. For smaller, simpler tasks, DIY can be a rewarding way to save money and learn new skills. However, for larger or more intricate jobs, hiring a professional can save you time, effort, and potential headaches in the long run. Consider your personal strengths, the demands of the project, and what you’re willing to invest to make the best choice for your situation. By weighing the pros and cons of each approach, you’ll be better equipped to choose the right option for your next home improvement project. Whether you go DIY or hire a professional, making an informed decision is key to a successful outcome.

Additional Costs And Considerations
When planning to install a concrete pad in New Zealand, there are several additional costs and considerations beyond the basic materials and labor. It’s crucial to understand these factors to avoid unexpected expenses and ensure the project runs smoothly. Below, we’ll dive into some of the most important aspects, including permits and regulations, finishing options, and long-term maintenance costs.
Permits and Regulations
In New Zealand, depending on where you live and the size or type of concrete pad you’re planning to install, local council regulations may require you to obtain permits. These permits are generally required for larger concrete slabs or pads used for specific purposes, such as building a foundation for a new structure or creating a driveway.
- Do you need a permit: The need for a permit often depends on the size of the concrete pad and its intended use. For example, if the pad is going to support a structure like a shed, garage, or carport, you’ll likely need a building consent. Even smaller pads may require permits if they interfere with drainage systems or local zoning restrictions.
- Permit Costs: The cost of obtaining a permit can vary significantly depending on the location and scope of your project. On average, building consents for a concrete pad can range from NZD $150 to $500, but it’s essential to check with your local council for precise figures. Keep in mind, failing to get the proper permits could lead to fines or, worse, the removal of the pad altogether.
Finishing Options
Once the concrete pad is poured and set, you might want to consider additional finishing options that can enhance both the aesthetics and functionality of the surface. These finishes can add unique textures, designs, or protective layers to the concrete, but they come with additional costs.
- Decorative Finishes: Decorative finishes like stamping or stenciling can add a stylish touch to the concrete surface, transforming a plain slab into a feature piece. For example, stamped concrete can replicate the look of stone, brick, or tile, adding curb appeal to driveways or patios.
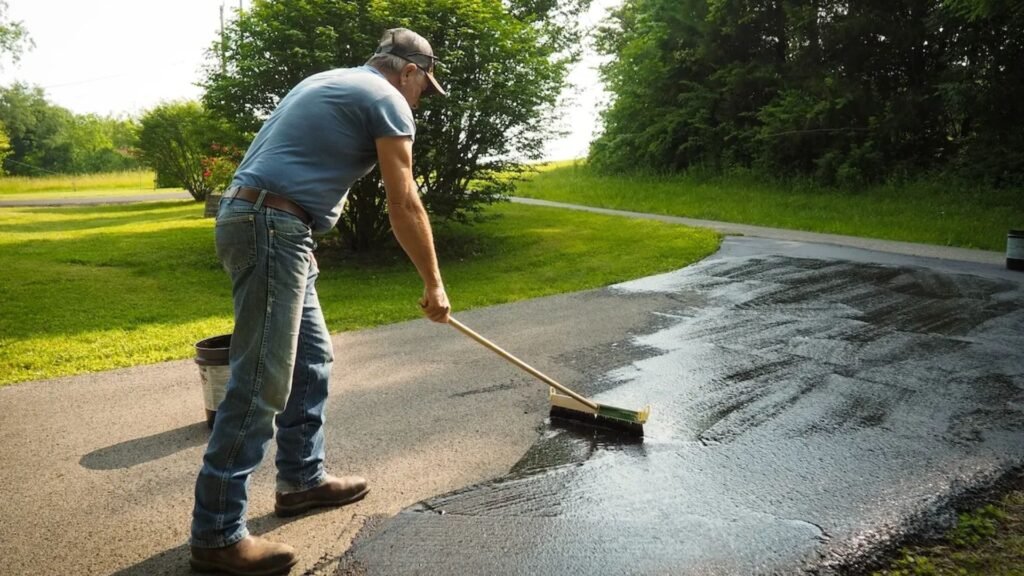
- Polishing and Sealing: Polishing the concrete can create a smooth, glossy surface, making it more visually appealing, particularly for indoor settings. Sealing the concrete helps protect it from moisture, stains, and wear and tear, which can significantly extend the lifespan of the pad.
- Cost of Finishes: These finishing options can add anywhere from NZD $10 to $30 per square meter to your project, depending on the complexity of the design and the materials used. While this increases the upfront investment, it can improve the overall durability and appearance of the concrete pad.
- Pros: Finishing touches like stamping, polishing, or sealing can enhance the overall look of the concrete pad, increasing property value. Sealing can also protect the surface from the elements, reducing the need for repairs down the line.
- Cons: These finishes come at an extra cost, and not all may be necessary, depending on the purpose of the pad. Some finishes, like polishing, may also require more regular maintenance.
Maintenance Costs
Like any surface exposed to the elements, a concrete pad will require some level of maintenance over time to ensure its longevity and functionality. Regular maintenance helps protect your investment and keeps the pad looking good for years to come.
- Sealing and Repairing: One of the most common maintenance tasks is sealing the concrete. Over time, UV exposure, moisture, and general wear can degrade the surface. Sealing typically needs to be done every 2-5 years, depending on the amount of use and weather conditions. Expect to pay around NZD $5 to $15 per square meter for sealing, which helps prevent cracking and staining. If cracks do appear, repairing them promptly is crucial to avoid further damage. Minor cracks can often be patched easily and affordably, but larger issues may require more extensive repairs.
- Expected Lifespan and Durability: The lifespan of a concrete pad can vary depending on the quality of the installation, the type of concrete used, and the environmental conditions it’s exposed to. In general, a well-maintained concrete pad can last 25-30 years or longer. Factors that can impact its durability include.
- Climate: Harsh weather, like frequent freezing and thawing, can cause cracks and degrade the surface over time.
- Traffic Load: Heavy loads, such as vehicles on a driveway, can wear down the concrete faster, especially if the pad wasn’t designed for that purpose.
- Maintenance: Regular sealing and timely repairs will greatly extend the life of your concrete pad.
While concrete pads offer a durable and versatile solution for many outdoor projects, it’s important to factor in the additional costs of permits, finishing options, and ongoing maintenance to ensure you get the most out of your investment. By planning for these additional expenses, you can avoid surprises and make informed decisions that enhance the value and longevity of your concrete pad.

How To Save Money On Your Concrete Pad Project
Concrete pad projects can be expensive, but with the right planning, you can find ways to significantly cut down on costs without sacrificing quality. Below are practical tips to help you save money on your concrete pad project.
Choosing the Right Contractor
One of the most crucial decisions in your concrete pad project is selecting the right contractor. Taking your time in this step can lead to substantial savings and ensure that the job is done correctly.
- Get Multiple Quotes: Don’t settle for the first contractor you come across. It’s essential to gather quotes from at least three to five contractors to compare not only pricing but also the scope of services they offer. Some contractors may include site preparation, cleanup, or even permit assistance within their price, while others may not. Having detailed quotes will allow you to spot any hidden fees or overpriced services.
- Check References and Past Work: Price alone shouldn’t be your deciding factor. You want a contractor with a reputation for quality work. Always ask for references and make sure to follow up by contacting previous clients. Look at their past projects—many contractors will have portfolios or galleries of previous work on their websites. Doing this due diligence ensures you’re hiring someone trustworthy and experienced, which can save you from costly mistakes down the line.
Buying Materials in Bulk
If you’re handling part or all of your project as a DIY venture, buying materials in bulk is a great way to reduce expenses. Concrete, gravel, and other base materials often come at a lower per-unit price when bought in larger quantities. Here’s how you can maximize savings.
- Purchase Materials in Bulk: Buying your concrete mix, rebar, gravel, or any other necessary materials in larger quantities often comes with discounts. While it may seem like a larger upfront investment, this can save you a significant amount in the long run. Many suppliers offer reduced rates for bulk orders, so this is definitely something to consider.
- Partner with Neighbors: If you’re working on a smaller project but still want to take advantage of bulk prices, consider partnering with your neighbors who may also have construction needs. By pooling your orders together, you can reduce delivery costs and access bulk pricing. For example, if several homes in your neighborhood are planning to install patios, walkways, or driveways, combining your purchases will lead to collective savings.
Timing Your Project
The timing of your project can also have a big impact on the overall cost, especially when it comes to labor. Like many industries, construction has peak seasons where demand and prices are higher.
- Schedule During Off-Peak Construction Times: Construction work is typically busiest during the warmer months, such as late spring and summer, when the weather is ideal for outdoor projects. During these times, contractors are in high demand, and prices for both materials and labor can increase. To save money, try to plan your concrete pad project for the off-peak season, such as early spring or late fall. Contractors may offer lower rates as they have fewer projects lined up, and you may find more flexibility in scheduling.
- Negotiate on Labor Costs: If you have the flexibility to time your project outside of the high-demand periods, you may be able to negotiate better rates with contractors. Off-season work means less competition for contractors, which can lead to lower bids and more affordable labor costs. Additionally, contractors may be more open to offering discounts or added services to secure your business during slower times.
Saving money on your concrete pad project is possible with thoughtful planning and strategic decisions. By choosing the right contractor, buying materials in bulk, and timing your project during less busy times, you can reduce your overall costs while ensuring the job is done right. Whether you’re hiring a contractor or going the DIY route, these tips will help you stay within budget without cutting corners on quality.
FAQs: About Concrete Pad Cost NZ
How much does a concrete pad cost in New Zealand?
The cost of a concrete pad in New Zealand varies depending on several factors, including the size, thickness, and type of concrete used. On average, the cost ranges from $70 to $100 per square meter for a basic concrete pad. This can increase to $120 to $150 per square meter for decorative or reinforced concrete pads. For larger projects or more complex installations, expect higher costs.
What factors influence the cost of a concrete pad?
Several factors affect the cost of a concrete pad, including the size and thickness of the pad, site preparation and leveling, the type of concrete used (plain, reinforced, or decorative), labor costs for professional installation, additional features like finishing, stamping, or sealing, and seasonal or weather-related impacts that may require extra prep work.
How thick should my concrete pad be?
The thickness of your concrete pad depends on its intended use: for patios or walkways, a 100mm (10cm) thickness is typical; for driveways or areas with heavy vehicles, a thickness of 125mm (12.5cm) to 150mm (15cm) is recommended; and for larger structures or sheds, a 150mm (15cm) thickness with additional reinforcement should be considered for added durability.
Can I pour a concrete pad myself (DIY), or should I hire a professional?
DIY concrete pads are feasible for smaller, less complex projects, such as garden paths or small patios. However, larger or more intricate projects, like driveways or structural foundations, typically require professional expertise. Professionals ensure proper site preparation, even thickness, and long-term durability, which may save you money in the long run by avoiding costly repairs or rework.
How long does it take for a concrete pad to cure before I can use it?
Concrete typically takes about 24 to 48 hours to set enough for light foot traffic. For heavier loads, like vehicles, it’s recommended to wait at least 7 days. Full curing, where the concrete reaches its maximum strength, usually occurs after 28 days. During this time, you should avoid placing heavy items or applying stress to the pad.
Do I need a permit to install a concrete pad in New Zealand?
Depending on the size and purpose of the concrete pad, you may need to apply for a building consent or permit from your local council. For instance, concrete pads used as foundations for structures like sheds or garages might require approval. It’s important to check with your local authority for specific regulations in your area before starting the project.
What is the difference between plain concrete and reinforced concrete?
Plain concrete is a basic mixture of cement, water, and aggregate (sand and gravel). Reinforced concrete includes additional materials, typically steel bars (rebar) or mesh, which strengthen the pad and make it more resistant to cracking under heavy loads. Reinforced concrete is essential for pads that will bear heavy structures or vehicles, as it adds durability and longevity.
Can weather affect the cost of pouring a concrete pad?
Yes, weather can impact both the timing and cost of your concrete project. Pouring concrete during rainy or extremely cold weather may require additional precautions, such as protecting the concrete from moisture or using additives to ensure proper curing. If weather delays your project, it could lead to increased labour costs, especially if contractors need to reschedule or perform additional preparation.
What can I do if my concrete pad starts cracking?
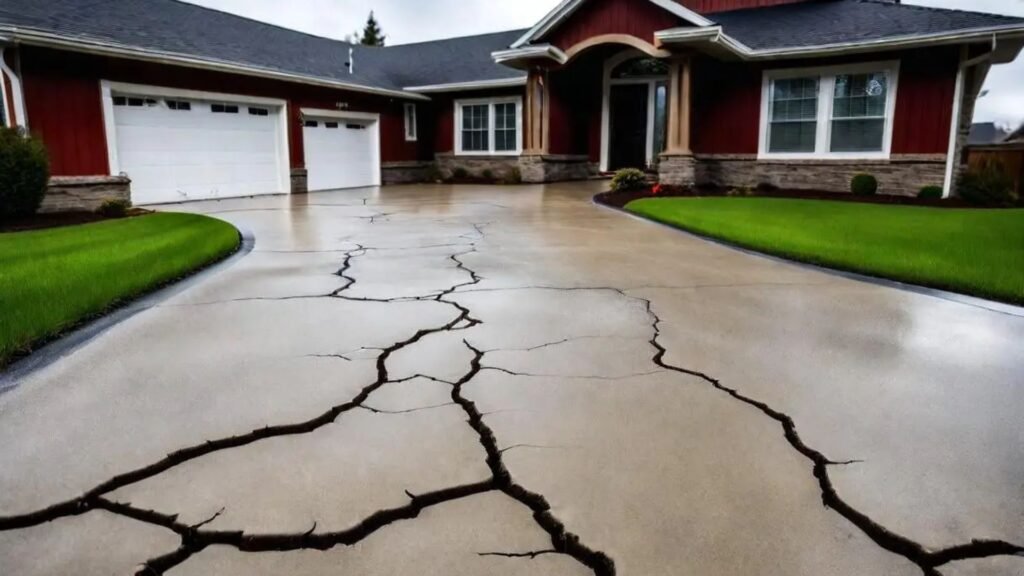
Cracks in concrete pads are common, especially if they were poured incorrectly or subjected to extreme weather conditions during curing. Small hairline cracks are typically not a concern and can be sealed to prevent moisture from penetrating. However, larger cracks may indicate structural issues. In such cases, consult a professional to assess the situation and determine if repairs, such as patching or resurfacing, are necessary.
Are decorative finishes worth the additional cost for a concrete pad?
Decorative finishes, such as stamped, colored, or polished concrete, can significantly enhance the aesthetic appeal of your concrete pad. They are often used for patios, driveways, or outdoor living spaces to create a unique look. While decorative finishes can increase the initial cost, they can also add value to your property and provide long-term durability with minimal maintenance. If you want to enhance the visual appeal of your concrete pad, investing in a decorative finish can be worthwhile.
Conclusion
We’ve explored the key aspects of understanding the costs associated with home improvement projects, focusing on average expenses and the various factors that can influence these prices, such as materials, labor, and location. We’ve also highlighted the importance of knowing when to opt for a DIY approach versus hiring a professional contractor. By weighing these options carefully, homeowners can make informed decisions that align with their budget and skills. If you’re ready to take the next step, whether it’s reaching out to a local contractor, getting a personalized quote, or planning your own DIY project, check out our resources for helpful tools and contractor connections. Remember, thorough planning and understanding potential costs in advance are essential in ensuring that your home improvement journey is both cost-effective and stress-free, ultimately saving you both time and money.
About the Author:
Mike Veail is a recognized digital marketing expert with over 6 years of experience in helping tradespeople and small businesses thrive online. A former quantity surveyor, Mike combines deep industry knowledge with hands-on expertise in SEO and Google Ads. His marketing strategies are tailored to the specific needs of the trades sector, helping businesses increase visibility and generate more leads through proven, ethical methods.
Mike has successfully partnered with numerous companies, establishing a track record of delivering measurable results. His work has been featured across various platforms that showcase his expertise in lead generation and online marketing for the trades sector.
Learn more about Mike's experience and services at https://theleadguy.online or follow him on social media:


