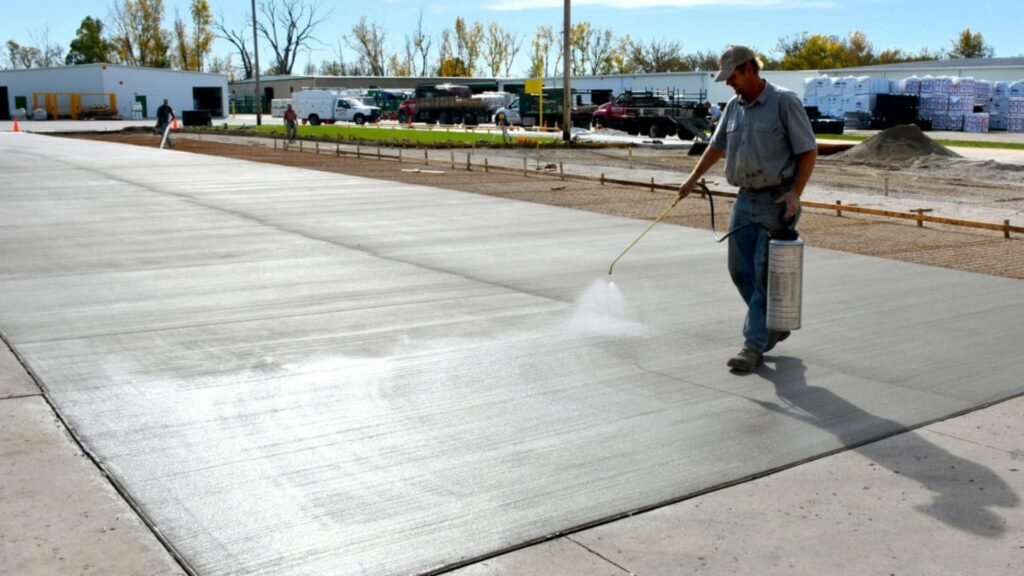
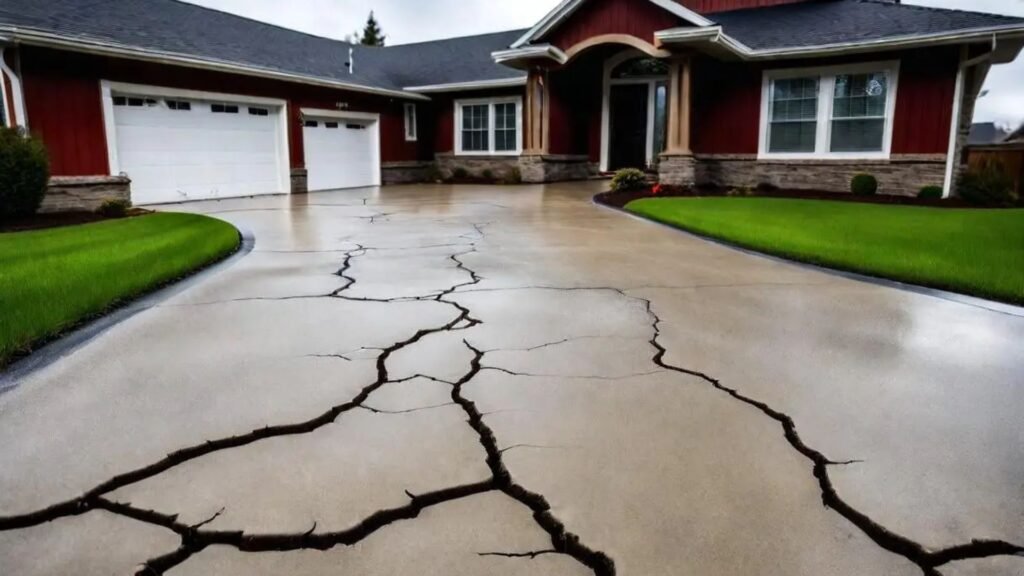
Welcome to our comprehensive guide on how to remove oil from concrete, specifically tailored for those in New Zealand dealing with stubborn stains on their driveways, garages, or outdoor areas. Whether it’s from a leaky car, spilled machinery fluids, or other common culprits, oil stains not only look unsightly but can also pose environmental and safety concerns if left untreated. In this article, we’ll walk you through easy-to-follow, DIY methods using household items, more advanced techniques with commercial cleaners, and tips for preventing future stains. Whether you’re a homeowner or a business owner, we’ve got the solutions to keep your concrete surfaces looking clean and well-maintained, ensuring they remain stain-free for years to come.
To remove oil from concrete, start by sprinkling an absorbent material like baking soda, cornstarch, or cat litter over the stain. Let it sit for 15-30 minutes to absorb the oil, then scrub the area with a stiff brush and a mixture of dish soap and water. Rinse thoroughly with a hose. For tougher stains, use a commercial degreaser or pressure washer. Sealing your concrete afterward can help prevent future stains.
Table of Contents
Understanding The Problem
What Happens When Oil Hits Concrete
Concrete is a highly porous material, which means that it absorbs liquids especially oils quite easily. When oil spills onto concrete, it doesn’t just sit on the surface like it might on metal or plastic. Instead, the oil penetrates the tiny pores of the concrete, allowing it to seep deeper into the material. This makes it much harder to remove because the oil binds with the internal structure of the concrete over time. The types of oil that commonly stain concrete include.
- Motor oil: Common in garages, driveways, and industrial areas. This is one of the most frequent culprits of unsightly oil stains.
- Cooking oil: Often seen in residential areas, especially near outdoor kitchens or grills.
- Hydraulic fluid: Frequently found on concrete near machinery and vehicles, particularly in warehouses or construction sites.
All of these oils have the ability to penetrate the surface, and once inside, the porous nature of concrete traps the oil, making removal a challenge.
Why Oil Stains Are Harder to Remove Over Time
The longer oil sits on concrete, the deeper it seeps into the material. This is because the oil continues to be absorbed by the porous structure of the concrete over time. When this happens, the oil not only stains the surface but also integrates into the deeper layers, making it much more difficult to lift with standard cleaning methods. The stain essentially becomes part of the concrete, rather than just sitting on top of it.
Immediate action is key to preventing oil from permanently staining concrete. When oil is promptly cleaned up, it has less time to penetrate the surface, meaning it can be removed more easily. Once oil has had time to fully soak in, more intensive treatments are required to break up and draw out the oil, often with less success. This is why tackling oil spills as soon as they happen is the best way to avoid long-term, difficult-to-remove stains on your concrete surfaces. By understanding the nature of concrete and how it interacts with oil, you can better manage and mitigate oil spills before they become permanent, unsightly problems.

Preparing To Clean Oil Stains
When it comes to removing oil stains, proper preparation is key to achieving the best results. Whether you’re dealing with a driveway, garage floor, or any other surface, getting ready before you start cleaning will save you time and ensure a safer, more effective process. Here’s what you need to know before tackling those stubborn stains.
Safety First
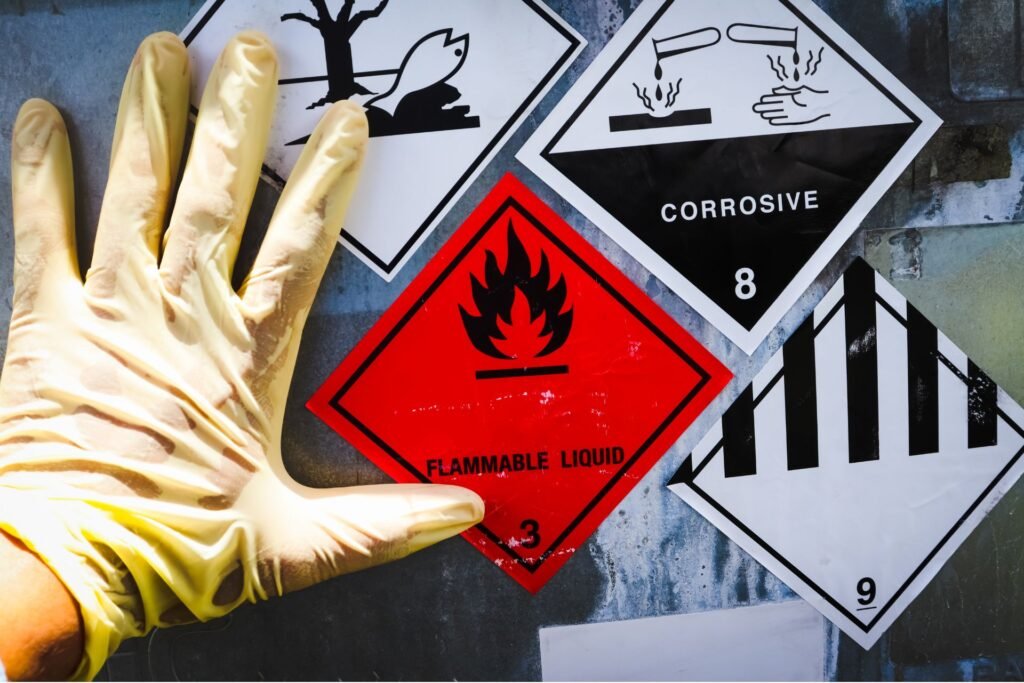
Before you begin, it’s important to prioritize safety. Cleaning oil stains, especially when using chemical products, can expose you to harmful fumes or skin irritants. Taking a few simple precautions can make a difference.
- Wear Gloves: Protect your skin from harsh chemicals or potential irritation caused by scrubbing.
- Use Protective Eyewear: Keep your eyes safe from splashes, especially if you’re using any strong cleaners or degreasers.
- Ensure Proper Ventilation: If you’re working in a garage or enclosed space, make sure it’s well-ventilated. This helps to disperse any harmful fumes from cleaning agents and ensures you’re breathing fresh air throughout the cleaning process.
Gathering Essential Tools and Supplies
Once you’re ready to start cleaning, it’s essential to have the right tools and materials at hand. Here’s a handy checklist to make sure you’re fully prepared.
- Scrub Brushes: A sturdy scrub brush with stiff bristles will help you loosen and lift the oil from the surface.
- Absorbent Materials: Having materials like kitty litter, baking soda, or sawdust on hand can help absorb excess oil before you begin scrubbing. These materials work well to draw oil out of porous surfaces.
- Cleaning Agents: Depending on your preference, you can choose from a variety of cleaning solutions.
- Degreasers: These are specifically formulated to break down oil and grease.
- Detergents: Dish soap or laundry detergent can work well for smaller stains.
- Eco-Friendly Cleaners: If you’re looking for an environmentally friendly solution, there are several biodegradable and non-toxic cleaners available on the market.
Having these items ready before you begin will save time and prevent you from scrambling mid-process.
Pre-Cleaning Prep
Before diving into the actual cleaning, there’s some basic preparation that will make your job easier.
- Sweep the Area: Use a broom to clear the area of any dirt, leaves, or debris. This ensures that nothing gets in the way of your cleaning efforts and that the oil is exposed directly for better treatment.
- Optional – Document the Stain: Consider taking a photo of the stain before you begin. This allows you to track your progress and see just how much improvement you’ve made after each cleaning session. It’s a small step that can be surprisingly motivating when you’re dealing with tough stains.
Taking the time to properly prepare ensures that you’re ready for success when it comes to tackling oil stains. With the right safety measures, tools, and pre-cleaning steps in place, you’ll be well on your way to restoring your surfaces to their former glory.

DIY Solutions For Removing Oil Stains
Oil stains on driveways or garage floors can be unsightly and tough to remove. Thankfully, you don’t need to rely on harsh chemicals or expensive cleaning services to get the job done. Here are some simple and effective DIY solutions you can try at home, using common household items and easily accessible tools. Let’s break down a few proven methods that you can use to tackle oil stains and restore the look of your concrete surfaces.
Using Household Items
You’d be surprised at how well everyday household products can work when it comes to removing oil stains from concrete. The key here is to act quickly and ensure you’re absorbing as much of the oil as possible before it soaks in too deeply.
Baking Soda or Cornstarch
Both baking soda and cornstarch are excellent at absorbing oils. Start by liberally sprinkling either baking soda or cornstarch directly over the oil stain. Let it sit for about 15-30 minutes. This allows enough time for the powder to soak up the oil. Once that time has passed, take a stiff brush and scrub the area thoroughly. This scrubbing action helps lift both the powder and the oil from the surface. Finally, rinse the area with water to wash away any residue. Repeat this process if necessary for more stubborn stains.
Dishwashing Liquid or Laundry Detergent
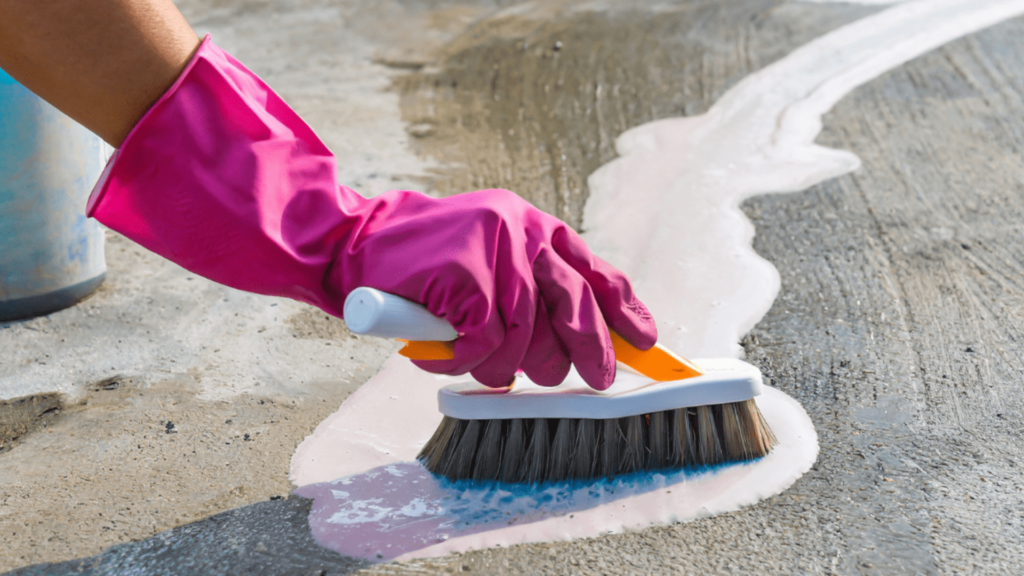
Dishwashing liquid and laundry detergent are designed to break down grease and oils, which makes them highly effective for cleaning up oil stains. Begin by applying the detergent directly to the stain. For best results, choose a concentrated liquid formula. Using a brush, scrub the detergent into the stain while adding a little water to help create a lather. Allow the mixture to sit on the stain for a few minutes to penetrate the oil, then rinse thoroughly with a hose or water source. You may need to repeat this process a couple of times depending on the size and severity of the stain.
The Cat Litter Method
For larger or more stubborn oil stains, non-clumping cat litter offers a cost-effective and highly absorbent solution. Non-clumping litter is designed to absorb liquid quickly, making it an ideal option for soaking up oil.
Here’s a simple step-by-step guide to using the cat litter method.
- Step 1: Spread a generous amount of non-clumping cat litter over the oil stain. Ensure that the entire affected area is covered.
- Step 2: Crush the litter into the concrete. You can do this by stepping on it, using your feet, or pressing it in with a brick or another flat, heavy object. This helps the litter absorb the oil more effectively.
- Step 3: Leave the litter in place for at least 24 hours. The longer it sits, the more oil it will soak up from the concrete.
- Step 4: After 24 hours, simply sweep away the cat litter. If any traces of the stain remain, repeat the process or follow up with another cleaning method such as dishwashing liquid or pressure washing.
The cat litter method works particularly well on fresh spills but can also be effective for older stains with repeated applications.
Pressure Washing
For larger areas or deeply ingrained oil stains, pressure washing is one of the most powerful methods you can use. A pressure washer delivers high-pressure water, which can break up and remove oil particles that have penetrated deep into the surface of the concrete.
If you don’t own a pressure washer, don’t worry many home improvement stores in New Zealand offer affordable rentals. When using a pressure washer, make sure to follow these safety tips.
- Wear Protective Gear: Always wear protective goggles and gloves to shield yourself from the high-pressure water stream and any debris that may get dislodged.
- Start at a Lower Pressure: Begin with a lower pressure setting to avoid damaging the concrete surface, especially if it’s older or has cracks.
- Work in Sections: Work on small sections at a time, moving the nozzle in a steady, sweeping motion to evenly clean the area.
- Use Detergent for Extra Cleaning Power: If the oil stain is particularly stubborn, consider using a concrete-safe detergent in combination with pressure washing. Apply the detergent first, let it sit, and then blast it away with the pressure washer.
Pressure washing is the most effective for tough stains and large surfaces, especially when other methods haven’t worked. By trying these DIY solutions, you can restore your driveway or garage floor to its original state without spending a lot of money on professional cleaning services. Whether you choose to use household items, cat litter, or rent a pressure washer, these methods are all cost-effective and easy to execute, helping you tackle oil stains with confidence.
Commercial Cleaners And Degreasers
Overview of Available Products in NZ
When it comes to tackling tough grime and grease, New Zealand offers a wide range of commercial cleaners and degreasers, suitable for both home and industrial use. The products available locally cater to different needs, from eco-friendly options to more powerful chemical-based solutions.
Eco-conscious consumers often opt for environmentally friendly degreasers like Simple Green, which is a non-toxic and biodegradable option that’s effective while being gentle on the planet. This product is widely available across New Zealand, including major hardware stores like Mitre 10 and Bunnings.
For those looking for more robust, chemical-based solutions, brands like Chemtech offer heavy-duty cleaners designed for industrial use. Chemtech products are well-known for cutting through oil and grease on surfaces such as engines, machinery, and workshop floors. These products may require careful handling due to their potent chemical composition, but they are incredibly effective for stubborn stains.
Alternatively, DIY options are also available at retailers like Mitre 10 and Bunnings. These stores offer a variety of degreasing solutions, from pre-mixed sprays to concentrate formulas that you can dilute yourself depending on the intensity of the cleaning job. Whether you’re looking for something to handle everyday kitchen grease or more challenging industrial grime, New Zealand’s hardware outlets have got you covered.
Step-by-Step Application of Degreasers
Using a degreaser correctly is key to achieving the best results. Here’s a step-by-step guide on how to properly apply a degreaser for optimal cleaning.
- Dilution (if needed): Depending on the product, you may need to dilute the degreaser with water. Always read the label for instructions on the recommended dilution ratio. For heavy-duty jobs, you might need a stronger solution, while lighter cleaning tasks could benefit from a more diluted mix.
- Application: Apply the degreaser to the affected area, whether it’s a kitchen countertop, car engine, or factory floor. Many degreasers come in spray bottles for easy application, but for larger areas, you may need to pour the solution directly onto the surface or use a mop or sponge.
- Waiting Time: After application, allow the degreaser to sit for a few minutes. This soaking period is crucial, as it gives the product time to break down the grease and grime. Depending on the severity of the stain, the waiting time can range from a couple of minutes to half an hour. Be sure to check the label for specific instructions.
- Scrubbing: Once the degreaser has had time to work, it’s time to scrub the surface. Use a brush or scrubbing pad to agitate the grease, working the cleaner deeper into the stain. For tougher, older stains, more elbow grease may be required, and you might need to repeat the process or use a stronger concentration of degreaser.
- Rinsing: After scrubbing, rinse the area thoroughly with water to remove any residue from the degreaser. This step is especially important for chemical-based products, as leftover chemicals can be harmful if left on surfaces that come into contact with food or skin. Eco-friendly options, like Simple Green, are generally safer but still benefit from a good rinse.
When to Use Degreasers
Degreasers are highly effective when dealing with heavy grease buildup or stubborn stains that regular cleaning products can’t handle. They’re particularly useful in kitchens, garages, workshops, and industrial settings where oil, grease, and dirt accumulate over time. For instance, a commercial degreaser is ideal for.
- Old stains: For grease spots that have settled over time, a more powerful degreaser is often required.
- Stubborn grease: When everyday cleaning agents fall short, commercial degreasers can break down the toughest grime.
- Industrial settings: Heavy-duty degreasers are a must for environments where machinery, automotive parts, or large surfaces are regularly exposed to oils and grease.
Whether you’re in search of an eco-friendly cleaner for your home or a more powerful solution for industrial use, New Zealand’s market offers a wide array of degreasers to suit every need. By following proper application techniques, you can ensure that your surfaces are left sparkling clean, no matter the task at hand.

Preventing Future Oil Stains
Oil stains on concrete can be a real hassle, but with the right precautions, you can significantly reduce the risk of stains in the future. Here are some practical steps you can take to keep your concrete surfaces clean and protected.
Seal Your Concrete
One of the best ways to prevent oil stains from penetrating your concrete is to apply a high-quality concrete sealer. Concrete is naturally porous, which means that oils, grease, and other liquids can easily seep into the surface, leaving unsightly stains that are difficult to remove. A concrete sealer acts as a protective barrier, making it harder for these substances to penetrate the concrete.
Benefits of Applying a Concrete Sealer
- Stain Resistance: A concrete sealer creates a non-porous surface, making it much easier to clean up spills before they become permanent stains. Oil, dirt, and other contaminants will remain on the surface, giving you more time to wipe them away.
- Durability: Sealing your concrete can also improve its overall durability by reducing the impact of water damage, cracking, and general wear and tear. This is especially important for outdoor surfaces exposed to the elements.
- Easy Maintenance: When your concrete is sealed, regular cleaning becomes simpler and faster. The sealed surface doesn’t trap dirt as easily, so you can keep it looking clean with minimal effort.
- Enhanced Appearance: Many concrete sealers also enhance the color and texture of your concrete, giving it a polished look. Whether you’re protecting a driveway, patio, or garage floor, a sealer can make a big difference in the overall appearance.
Product Suggestions
If you’re in New Zealand and looking for effective concrete sealers, here are some great options available at local hardware stores.
- Wattyl Solagard Concrete Sealer: This is a popular water-based option available at Bunnings Warehouse. It provides excellent protection from oil stains and is UV-resistant, making it ideal for outdoor use.
- Resene Concrete Clear: Available at Resene ColorShops, this sealer offers a tough, clear finish that enhances your concrete’s natural appearance while protecting it from stains and weathering.
- Cemix Concrete Sealer: Found at Mitre 10, this solvent-based sealer penetrates deep into the concrete, providing long-lasting protection against oils, grease, and other contaminants.
Before applying any sealer, make sure the concrete surface is clean and dry. Follow the manufacturer’s instructions carefully for the best results.
Maintenance Tips
In addition to sealing your concrete, regular maintenance is key to keeping it looking its best and avoiding future stains. Here are some simple maintenance tips.
- Sweep Regularly: Regularly sweeping your concrete surfaces prevents dirt, leaves, and debris from accumulating. When organic matter builds up, it can break down and stain the concrete, especially if combined with moisture. Sweeping also helps you spot any small spills before they become bigger problems.
- Clean Spills Promptly: If oil or grease does spill on your concrete, it’s essential to clean it up as soon as possible. The longer a stain sits, the harder it will be to remove. Keep some absorbent materials, like kitty litter or baking soda, on hand to sprinkle over fresh spills. These materials can soak up the oil before it has a chance to seep into the concrete.
- Address Oil Leaks Immediately: If your vehicle tends to leak oil, it’s crucial to address the issue before it causes long-term damage to your driveway or garage floor. One simple solution is to place a drip pan or absorbent mat under the car to catch any leaks. These can be easily purchased at hardware stores and are an inexpensive way to protect your concrete.
- Deep Clean Annually: Even with regular sweeping and spill cleanup, it’s a good idea to give your concrete a deep clean at least once a year. Use a concrete cleaner or a mixture of dish soap and warm water to scrub the surface thoroughly. For tougher stains, a pressure washer can help remove grime that has built up over time.
By taking these preventative steps, you can extend the life of your concrete and keep it looking clean and stain-free for years to come. Sealing your concrete, staying on top of maintenance, and addressing potential stains immediately will make a huge difference in keeping your outdoor and garage surfaces in pristine condition.

When To Call In A Professional
Even the most diligent DIY efforts can sometimes fall short when it comes to carpet cleaning. While it’s great to handle everyday spills and stains on your own, there are certain situations where calling in a professional is your best bet. Here’s how to know when it’s time to bring in the experts, what to expect from a professional service, and some eco-friendly options to consider in New Zealand.
When DIY Doesn’t Cut It
No matter how skilled you are with a vacuum cleaner or spot remover, there are times when professional cleaning services are necessary. Here are a few signs that it’s time to call in the pros.
- Deep, Persistent Stains: If you’ve tried everything from baking soda to specialized stain removers and that stain just won’t budge, it’s time for professional help. Deep stains, particularly from wine, coffee, or pet accidents, often penetrate beyond the surface and require more advanced methods.
- Large Areas or Whole-Home Cleaning: Tackling an entire room or house can be daunting. Cleaning large areas, especially in homes with wall-to-wall carpeting, is both time-consuming and physically demanding. Professionals have the tools and expertise to clean large spaces quickly and thoroughly.
- Time Constraints: If you’re preparing for an event or simply don’t have the time to do a thorough clean, professionals can save you hours of labor. They can complete in a couple of hours what might take you a whole weekend.
- Pet Odors and Hair: Pet owners know that odors and hair can linger despite regular cleaning. A professional service uses stronger cleaning solutions and equipment to neutralize odors and remove pet hair from deep within the carpet fibers.
What to Expect from a Professional Service
When hiring a professional carpet cleaner, you can expect more than just a surface-level clean. Here’s what their services typically include.
- Chemical Treatments: Professionals use specially formulated cleaning solutions that are designed to break down tough stains and odors. These chemicals are far more effective than standard store-bought options, and they are often tailored to specific stain types like wine, grease, or pet accidents.
- High-Powered Equipment: Professional services use industrial-grade equipment that provides a deeper clean than your average vacuum or rental cleaner. These machines use high-powered suction to remove dirt, debris, and moisture from deep within the carpet fibers, leaving your carpets fresher and cleaner.
- Steam Cleaning: Many professionals offer steam cleaning services, which are effective for deep cleaning carpets. This method uses hot water and steam to sanitize the carpet, killing bacteria and allergens while lifting dirt and stains.
- Spot Treatments and Deodorizing: Professionals will focus on high-traffic areas, heavy stains, and pet-affected spots with targeted treatments. They may also apply deodorizing treatments to leave your home smelling fresh and clean.
Cost Estimates for Professional Cleaning in New Zealand
Professional carpet cleaning services in New Zealand vary in cost depending on the size of the area, the severity of stains, and the type of service you choose. On average, here’s what you can expect.
- Per Room: The cost to clean a single room typically ranges from NZD $30 to $60. The price can vary based on room size and the type of carpet.
- Whole House: Cleaning an entire home can cost anywhere from NZD $150 to $400, depending on the square footage and the number of rooms. Homes with multiple levels or specialized services like stain removal may incur additional costs.
- Deep Stain Removal or Additional Services: Tackling particularly stubborn stains or pet-related issues can increase the price. Specialized treatments, such as pet odor neutralization or heavy-duty stain removal, may add NZD $10 to $30 per service area.
Eco-Friendly and Sustainable Options
If you’re concerned about the environmental impact of traditional carpet cleaning chemicals, there are plenty of eco-friendly options in New Zealand. Several companies offer green cleaning solutions that are both effective and safe for the environment, Here are a few to consider.
- Greenacres Carpet Cleaning: Based in various locations across New Zealand, Greenacres uses non-toxic, biodegradable products that are tough on stains but gentle on the planet. Their eco-friendly cleaning solutions ensure that no harmful chemicals are left behind in your home.
- Eco Carpet Care NZ: This Auckland-based company focuses on sustainable cleaning practices. They use plant-based, natural cleaning agents that are safe for children, pets, and the environment, while still providing an effective deep clean.
- The Green Man NZ: Known for their use of eco-friendly cleaning products, The Green Man offers a range of cleaning services including carpet, upholstery, and rug cleaning. Their products are designed to be non-toxic and biodegradable, making them a great option for the eco-conscious homeowner.
Choosing an eco-friendly service can help reduce your carbon footprint while ensuring your home remains clean and safe for your family and pets. Many of these companies also offer additional sustainable services, such as water-efficient cleaning methods and recyclable packaging for their products. By understanding when it’s time to bring in a professional and knowing what to expect, you can ensure your carpets stay fresh, clean, and long-lasting. Whether you’re dealing with deep stains, large areas, or just want to save time, professional cleaners in New Zealand provide a range of options to suit your needs, including sustainable solutions for the eco-conscious.

FAQs: About How To Remove Oil From Concrete NZ
How long does it take to remove an oil stain from concrete?
The time it takes to remove an oil stain depends on the method you choose and the severity of the stain. Using household products like baking soda or dish soap may take multiple applications and a few hours of effort. Commercial degreasers can work more quickly, typically within 30 minutes to a few hours. For deeper stains, professional cleaning services may take an entire day or more, depending on the treatment required.
Can old oil stains be removed from concrete?
Yes, old oil stains can be removed, but they require more effort than fresh stains. You may need to use stronger cleaning agents, such as commercial degreasers, or even professional cleaning services. Pressure washing combined with degreasers can also help lift older, more ingrained stains, though complete removal may not always be possible.
What are some eco-friendly ways to clean oil from concrete?
Eco-friendly methods include using baking soda, cornstarch, or even sawdust to absorb the oil before scrubbing the area with a natural detergent. You can also use eco-friendly commercial degreasers that are biodegradable and non-toxic, which are readily available in NZ hardware stores.
Does pressure washing remove oil stains from concrete?
Yes, pressure washing can help remove oil stains, especially when used in combination with a degreaser. It’s particularly effective for larger stains or stains that have seeped deep into the concrete. However, for older, deeper stains, multiple rounds of pressure washing may be needed, and it may not completely remove the stain.
Is it necessary to seal concrete after cleaning an oil stain?
Sealing concrete after cleaning is not strictly necessary but is highly recommended. Sealing protects the concrete from future oil stains, making it easier to clean spills and maintain the surface. Concrete sealers are available at most NZ hardware stores, and applying one can extend the lifespan of your concrete.
Can I use vinegar to remove oil stains from concrete?
Vinegar is not typically effective for removing oil stains. It’s a great general cleaner but lacks the degreasing properties needed to break down oil. You’re better off using baking soda, detergent, or a commercial degreaser for oil-specific stains.
What tools do I need to clean oil stains from concrete?
Basic tools include a stiff scrub brush, absorbent materials like baking soda or cat litter, a hose, and cleaning agents such as dish soap or a degreaser. For tougher stains, you might also need a pressure washer or specialized concrete cleaning tools, which can be rented or purchased at hardware stores in NZ.
How often should I clean oil stains from my concrete driveway?
It’s best to clean oil stains as soon as they occur to prevent them from setting in. For high-traffic areas like driveways, regularly inspect for new stains and clean them promptly. As a general rule, do a deep clean of your concrete surfaces at least once or twice a year, or more frequently if spills are common.
Are there any risks associated with using chemical degreasers on concrete?
Chemical degreasers can be highly effective, but they come with risks if not used properly. Some may damage the concrete’s surface if left on too long, or harm surrounding plants and soil if not rinsed properly. Always follow the product’s instructions, use protective gear, and consider eco-friendly alternatives where possible.
When should I consider hiring a professional to clean oil stains?
If you’ve tried multiple DIY methods and the stain persists, or if the affected area is large and requires significant effort, it may be time to hire a professional. Professionals have access to stronger cleaning agents and equipment, like industrial-grade pressure washers, that can achieve results that home methods cannot. Additionally, if you’re concerned about potential damage to the concrete or surrounding areas, a professional service can handle the job safely and efficiently.
Conclusion
It’s essential to act swiftly when dealing with oil stains to prevent them from setting into surfaces, as quick action often leads to the best results. Throughout the article, we have discussed some of the most effective methods for removing these stubborn stains, such as using absorbent materials like baking soda or cat litter, followed by scrubbing with degreasers or dish soap for deeper cleaning. For particularly challenging stains, more intensive options like specialized cleaners or even pressure washing were suggested. It’s important to experiment with these DIY methods first, but don’t hesitate to seek professional help if necessary. Remember, even the toughest oil stains can be tackled successfully with persistence and the right approach. By staying proactive and trying these techniques, you can maintain the cleanliness and longevity of your surfaces, leaving you with a sense of accomplishment and a stain-free environment.
About the Author:
Mike Veail is a recognized digital marketing expert with over 6 years of experience in helping tradespeople and small businesses thrive online. A former quantity surveyor, Mike combines deep industry knowledge with hands-on expertise in SEO and Google Ads. His marketing strategies are tailored to the specific needs of the trades sector, helping businesses increase visibility and generate more leads through proven, ethical methods.
Mike has successfully partnered with numerous companies, establishing a track record of delivering measurable results. His work has been featured across various platforms that showcase his expertise in lead generation and online marketing for the trades sector.
Learn more about Mike's experience and services at https://theleadguy.online or follow him on social media:


